All I can say, is it's a great feeling to start with an idea, work with it for more than 6 months, and get to this place.
I'm so excited to share
this pattern
with you! It started basically as a way to solve a problem I was having:
How do I organize my kid's toys? (the little ones)
which led to other problems:
How can I make something that's just right for them?
How can I make it out of cardboard?
How can I make it strong?
How can I make it recyclable?
How can I make it beautiful?
Well, curiosity can lead you down a long and winding path.
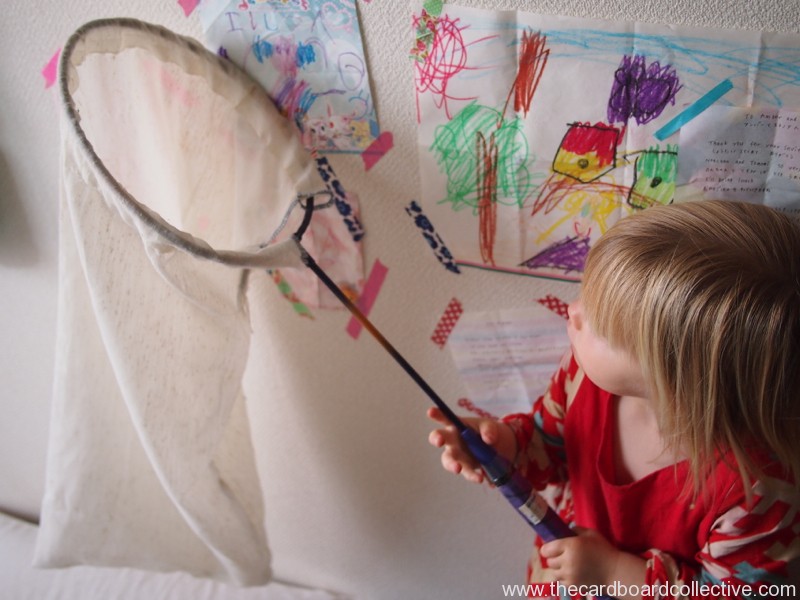
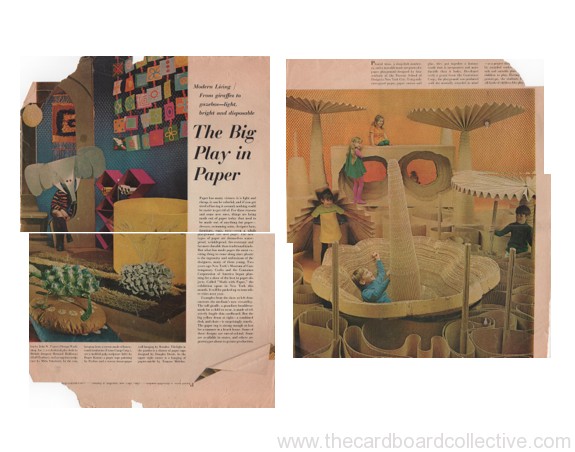
Mine included a re-acquaintance with high school geometry, learning more about photography and lighting, the search for affordable copyright free music, video editing, cardboard sourcing, explorations in color and pattern (ultimately inspired by the divine Japanese kimono), tool and material testing and lots and lots of watching kids play (the best part)!
I ended up with
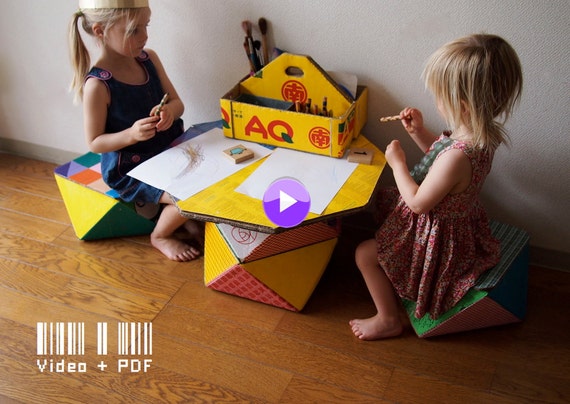
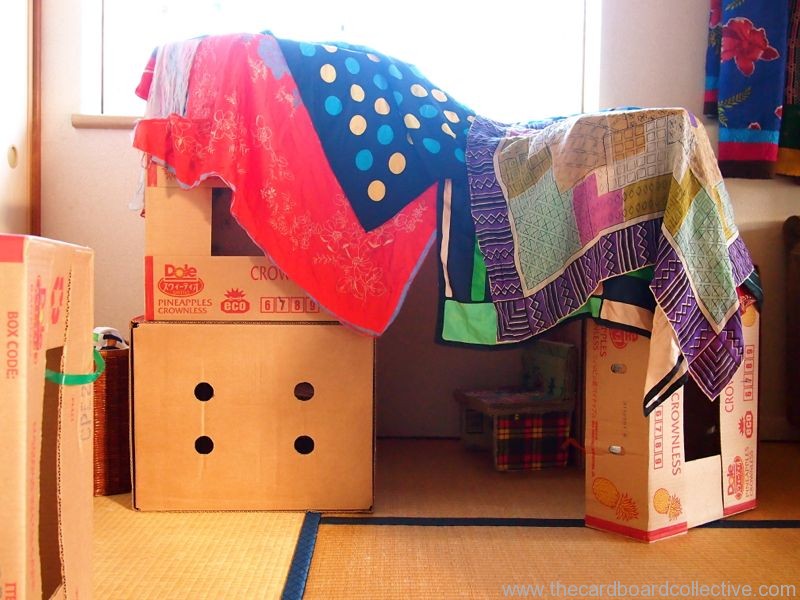
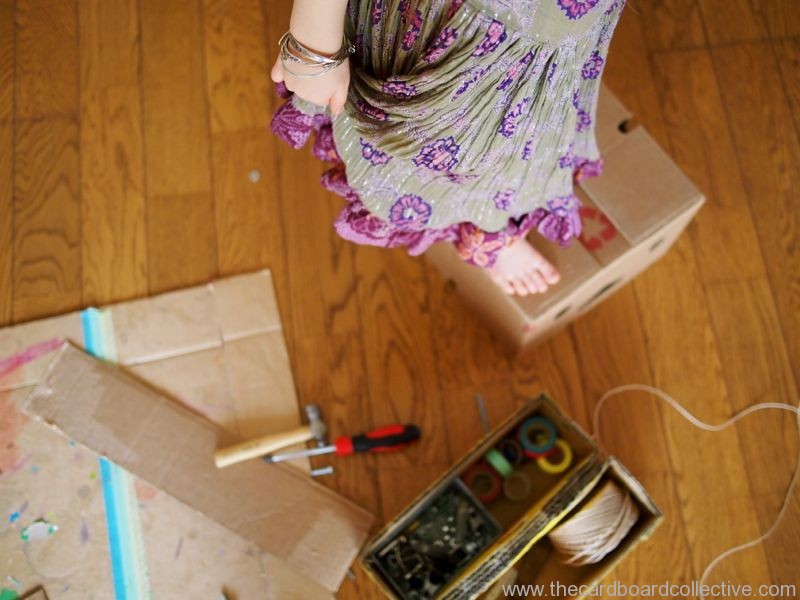
Totem Boxes.
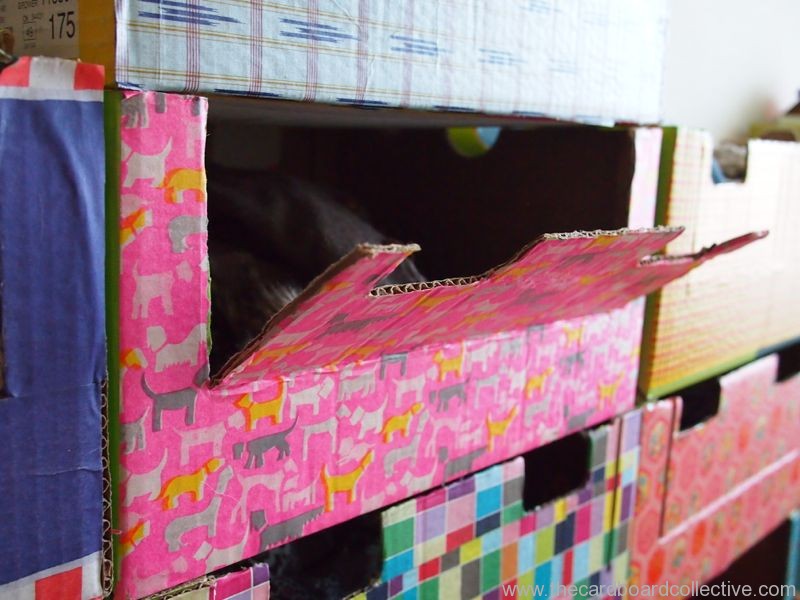
A set of sculptural stacking boxes (the base of one box fits the top of another) that double as a nightstand, stool, ottoman or table and stool set for children. You can leave them plain, or decoupage them with decorative paper.
What do you do with them?
Put your favorite stuff inside. Yarn, yo-yos, matchbox cars and trucks, Legos, rubber stamps, fancy hats, scarves, alphabet magnets, musical instruments, play-dough, cookie cutters, wooden blocks...
I don't exactly understand the magic, but my kids love cleaning up with the Totem Boxes. They make sorting the toys like another way to play. You can easily move the boxes to where the mess is because they are modular, and then stack them up as you go. They look good sitting in the corner of your room, if you do nothing else. To me, they are functional sculpture.
And they're not just for kids. Someday when I'm a knitter, I'm going to make a set with a hole on the side for the yarn to feed out while I knit. I'll prop up my heels on the boxes as I relax and make gorgeous socks....
But are they durable enough for kids to use?
Months of testing and strength to support the sitting weight of a 150lb. adult makes me say YES.
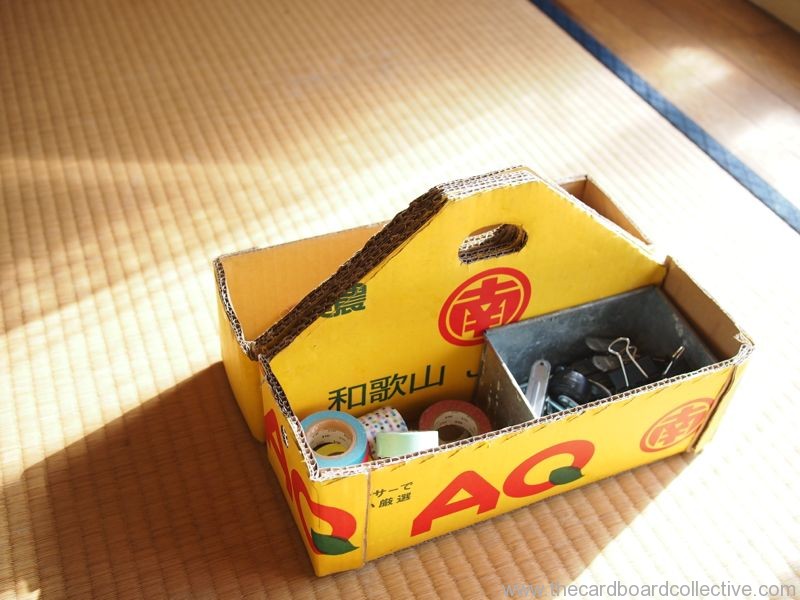
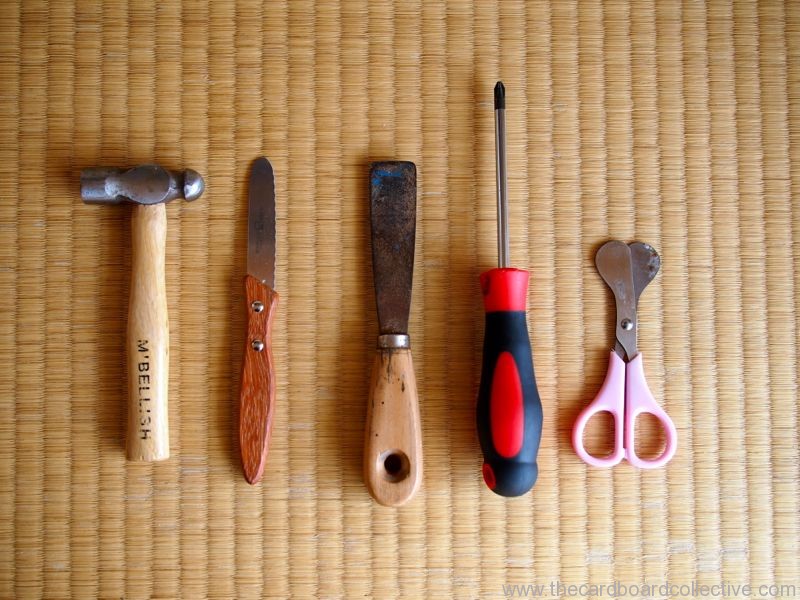
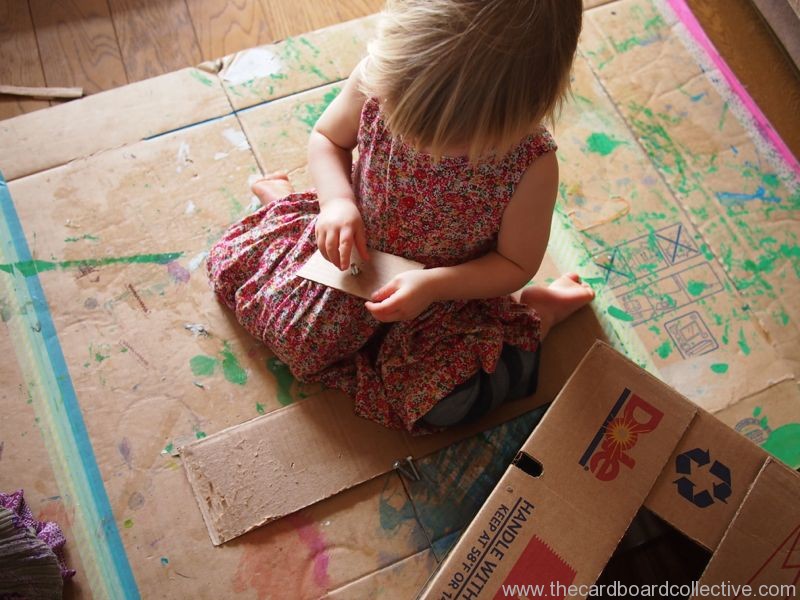
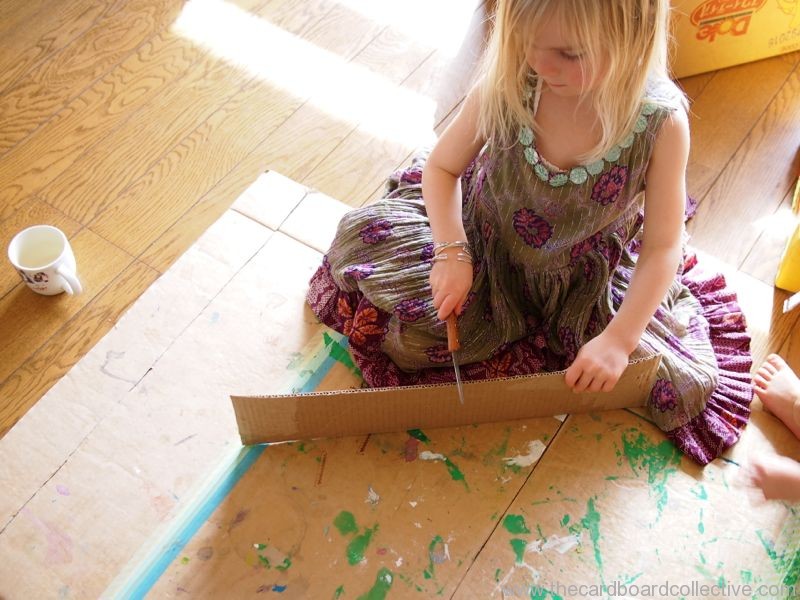
What do I need to make them?
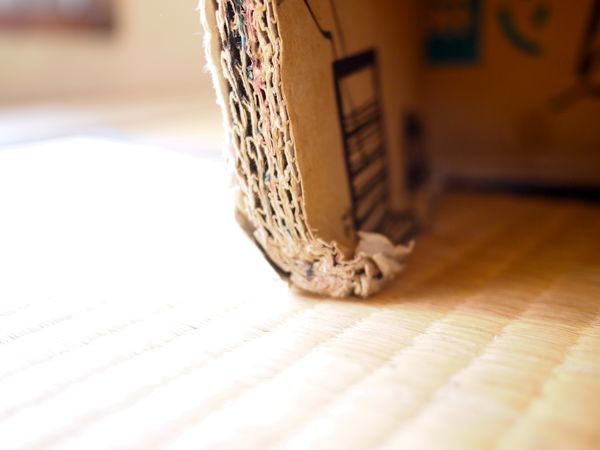
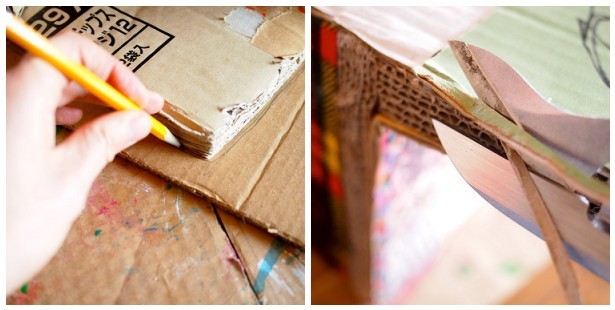
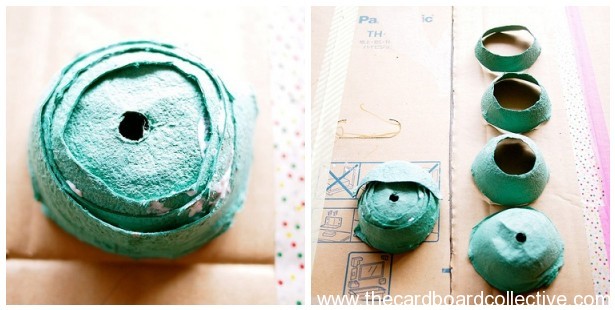
You will need lots of strong cardboard (like the kind that banana boxes or diaper boxes are made out of) and basic supplies like a pencil, white glue, a metal ruler, binder clips or clothespins and a utility knife. You will also need access to the internet, a computer and a printer to print out your pattern pieces and directions.
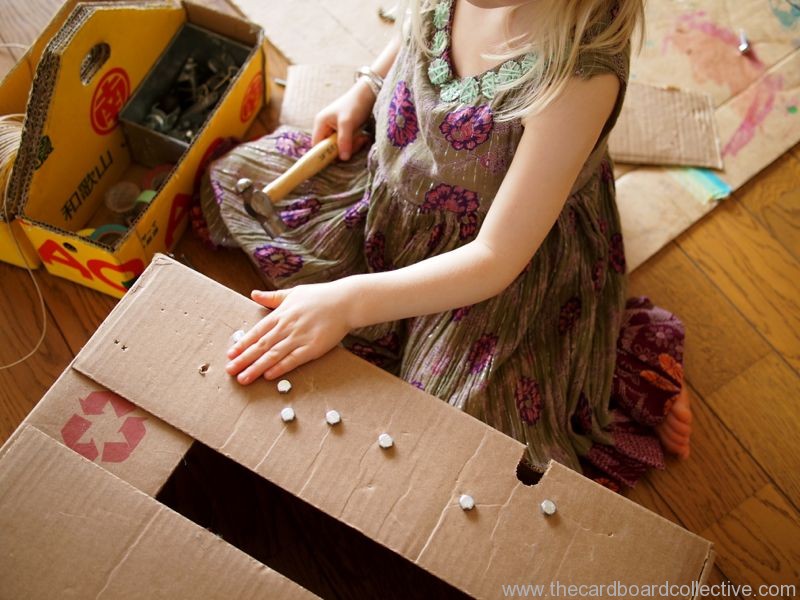
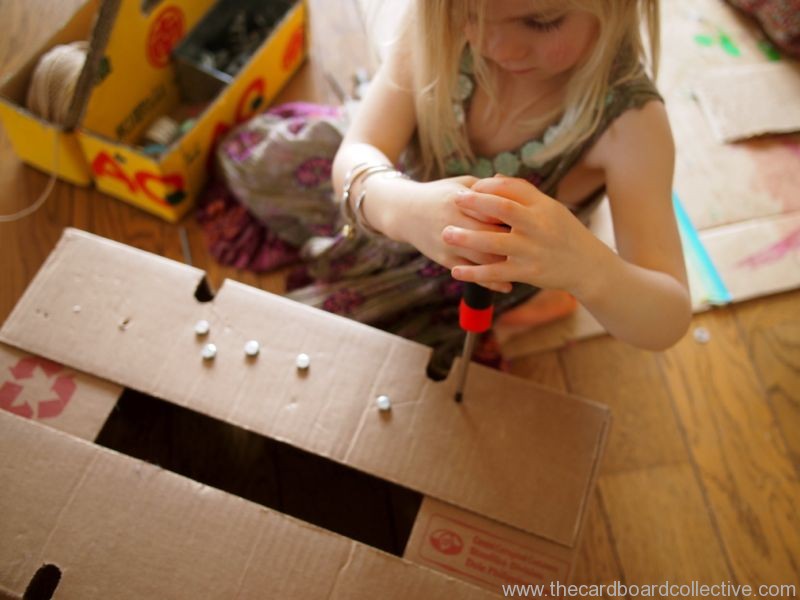
How long does it take?
Anywhere from 45 minutes to an hour for the first box, but after making about 20 of them, I've got it down to about 30 minutes a box (without decoupage). Best thought of as a weekend project. Say, if you wanted to make an amazing gift for your 2-5 year old niece or nephew's birthday.
Where can I buy the pattern?
The pattern costs $12 and is currently available in my Etsy Shop: https://www.etsy.com/shop/cardboardcollect
It includes instructional PDFs in US Standard and Metric with written directions and a pictorial guide with links to 3 original video tutorials. The elementary school teacher in me did my best to appeal to audio and visual learners, so if you get frustrated by traditional patterns, fear not.