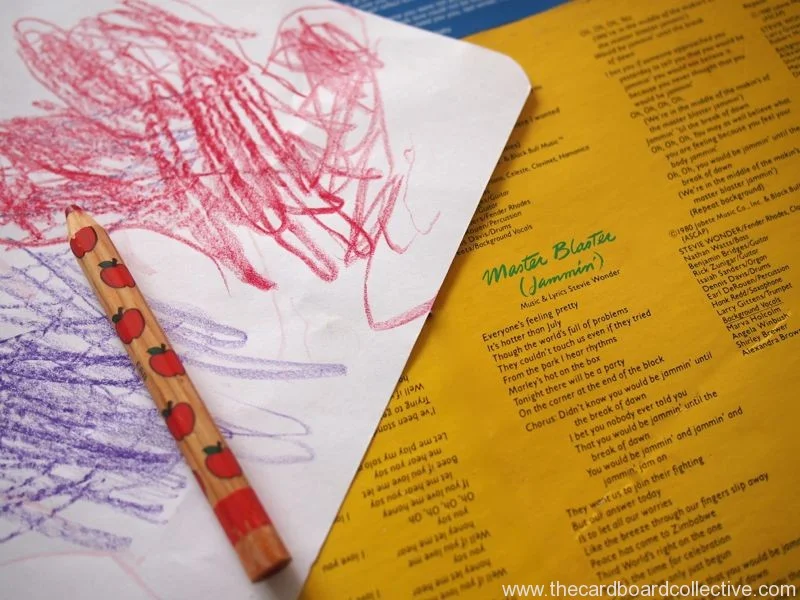
During my New Year's cleaning I unearthed a stack of album covers that I've used on many projects over the course of the last two years. As I contemplated finally recycling what was left, the photograph on the cover of this Linda Ronstadt album piqued my interest. I sat and stared at it.
I thought
.......prettiness, that's what I'm seeking right here and now in the middle of winter, that feeling.

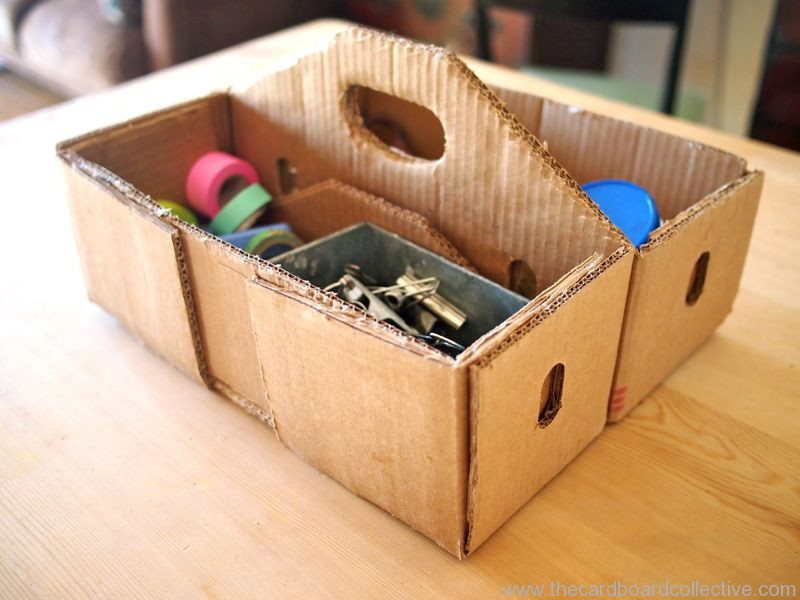
Recycled Cardboard Pocket Folder by Amber / The Cardboard Collective
So I brushed and cut my hair, pulled on my brightest striped sweater, and got busy making something pretty.
because of you Linda.

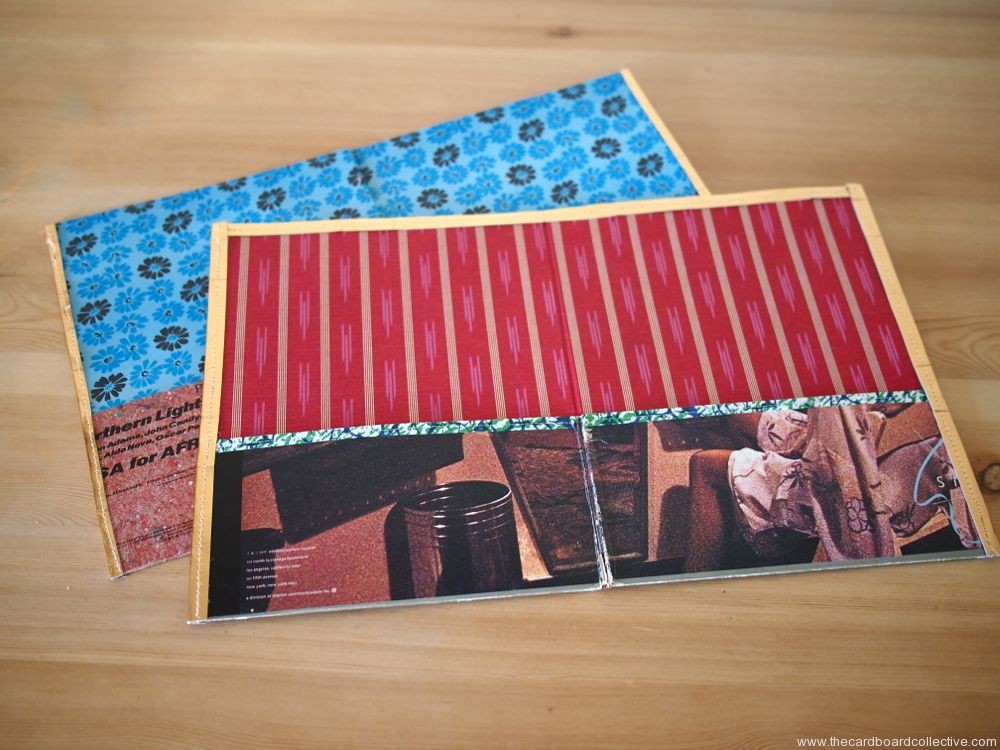
Recycled Album Cover Pocket Folders by Amber / The Cardboard Collective
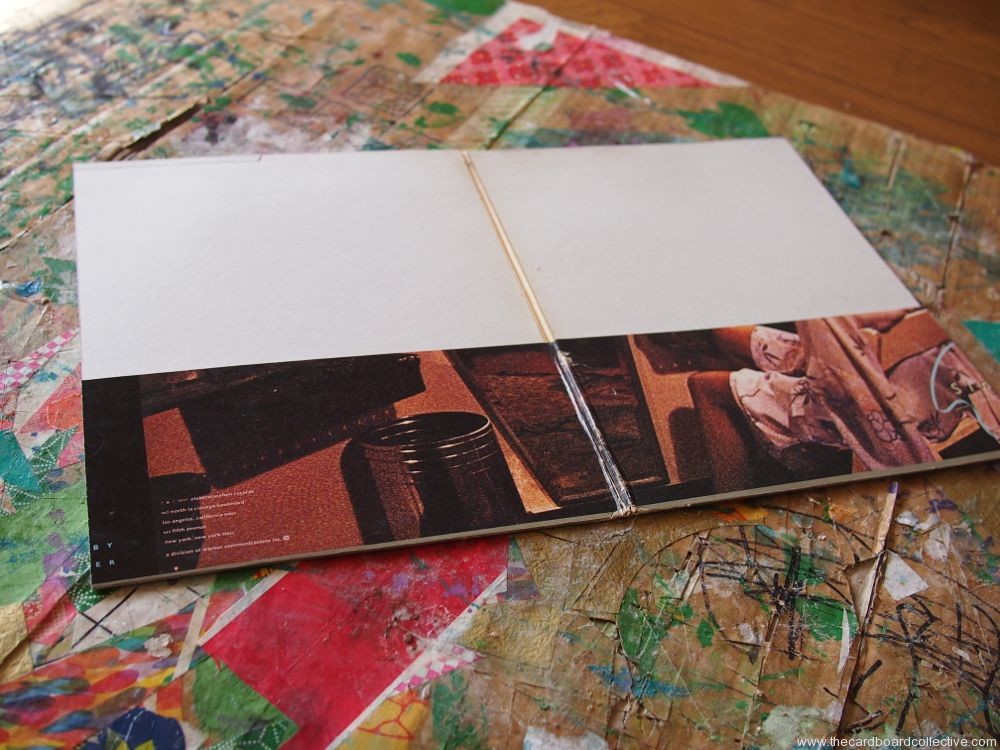
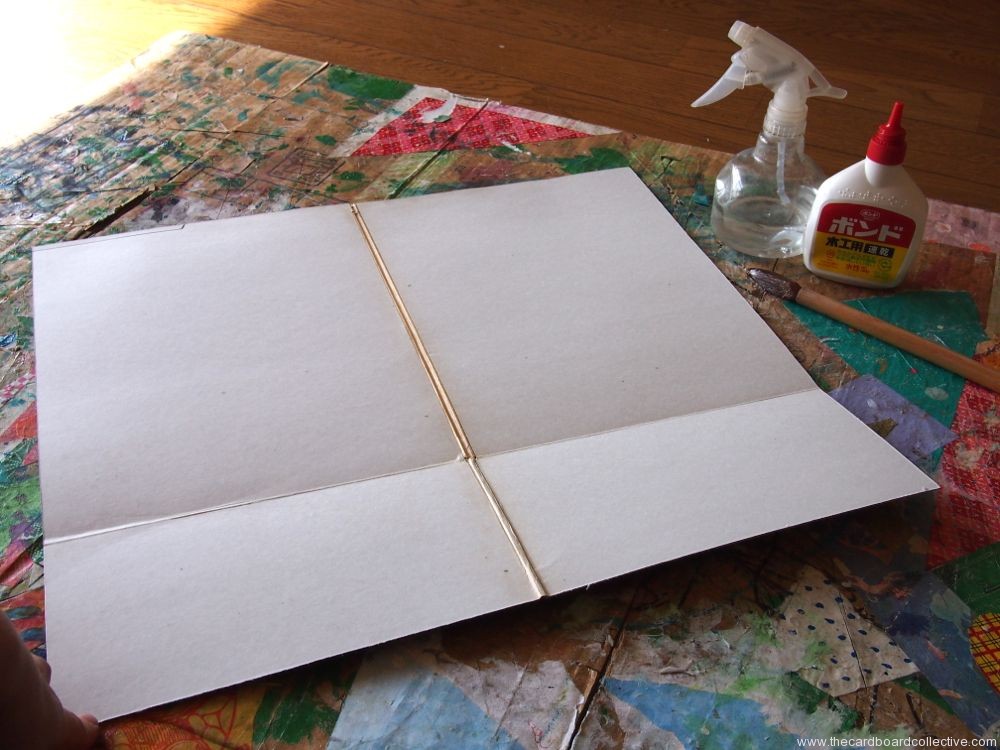
Start with a double pocket style album cover. Cut the album cover to the dimensions of 19" (48cm) x 12.5" (32cm). The height of the pocket is 4.5" (12 cm)

Recycled Album Cover Pocket Folders by Amber / The Cardboard Collective

Recycled Album Cover Pocket Folders by Amber / The Cardboard Collective
Cardboard Pocket Folder by Amber / The Cardboard Collective
Recycled Cardboard Pocket Folder by Amber / The Cardboard Collective
This is where you can add some pretty paper if the inside of your cover is aged.

Pocket Folder by Amber / The Cardboard Collective
Pocket Folder by Amber / The Cardboard Collective
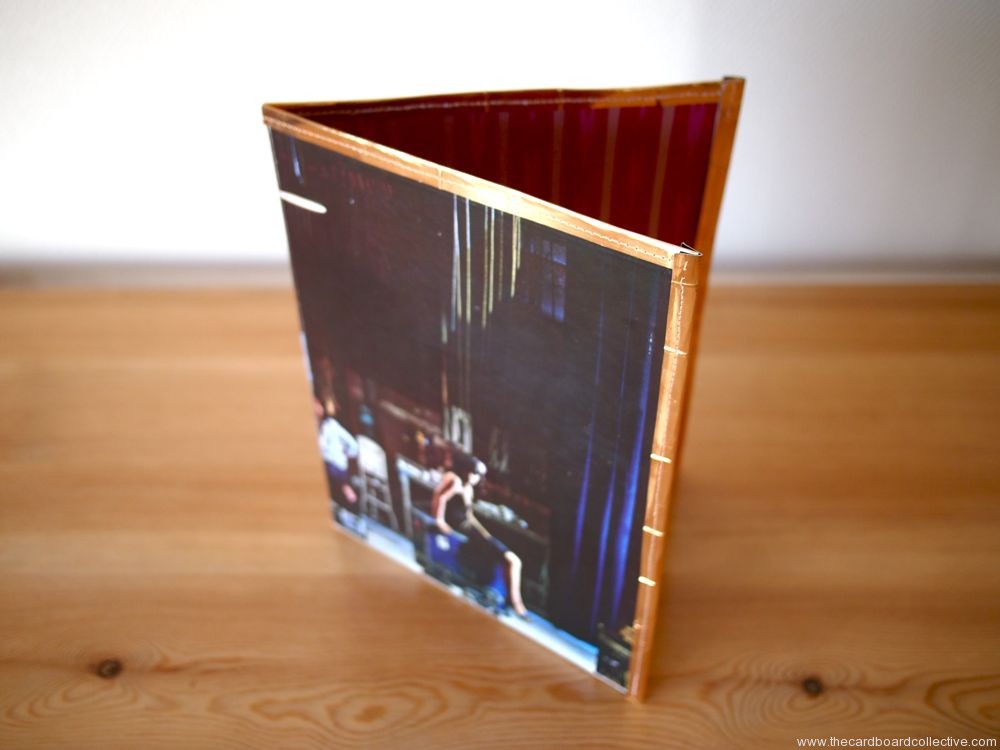
The last and most interesting part of this project is the trim. I used strips of interesting paper and gold cardboard folded over the edges (about 0.75"/2cm wide). You can glue the trim down, but I sewed it onto the folder using a standard needle and my sewing machine. I used the hand treadle to get started and then back-stitched at the beginning and end.
Cup of cocoa anyone?

Recycled (cardboard) Album Cover Pocket Folder by Amber / The Cardboard Collective


